How to manage windows on Mac
Table of Contents
Why you need a window manager
If you already know the answer, feel free to jump straight to the setup guide.
If not, I’ll try to convince you that the built-in ways of navigating windows on macOS are… not great. Unless you only ever use 1–2 apps—in that case, honestly, you probably don’t need this article.
Let’s look at what macOS gives you out of the box.
Command (⌘) + Tab

The classic. The OG.
Command (⌘) + Tab
This how everyone switches between apps.
And it works… until you have more than a handful of them open.
At that point, you’re just tapping Tab over and over like you’re spinning a roulette wheel hoping to land on the right app. The more apps you have, the worse it gets. Technically speaking, it’s O(n)—practically speaking, it’s annoying.
Also, it only works at the app level. Got 5 Chrome windows? Command (⌘) + Tab will only get you to the most recent window.
P.S.
Command (⌘) + Shift + Tabjust spins the wheel the other way. Still a wheel.
Cycling windows within an app

You can press
Command (⌘) + ` (backtick)
to cycle through windows of the current app.
This is a nice complement to Command (⌘) + Tab, but it has the exact same flaw: it doesn’t scale. More windows = more key presses.
So instead of solving the problem, it just moves it one level deeper.
App Exposé
App Exposé shows all windows for the current app.
You can trigger it with
Control (⌃) + ↓
or a three-finger swipe down.
Visually, this one is actually pretty nice. You see everything at once. No guessing.
But now you have to use your mouse (or trackpad) to pick a window.
And once you go back to the mouse, your workflow slows down immediately. It’s just how it is.
Mission Control
Mission Control (F3) or
Control (⌃) + ↑
or a three-finger swipe up shows everything: all apps, all windows, all desktops.
Looks powerful. Feels powerful.
But then you try to actually use it.
Two problems show up pretty quickly:
- Windows move around, so you can’t build muscle memory. You’re always scanning the screen like “where did Tim Cook put my window this time?”
- You still need the mouse to pick anything.
So yeah, it’s great for seeing everything, not so great for quickly switching.
Multiple desktops (Spaces)
Multiple desktops (Spaces) sound like a power feature.
By default,
Control (⌃) + ← / →
or a four-finger swipe.
Which means—you guessed it—more cycling.
The more desktops you have, the more steps it takes to get where you want.
What you really want is direct shortcuts like “jump to desktop 5”.
macOS almost gets there.
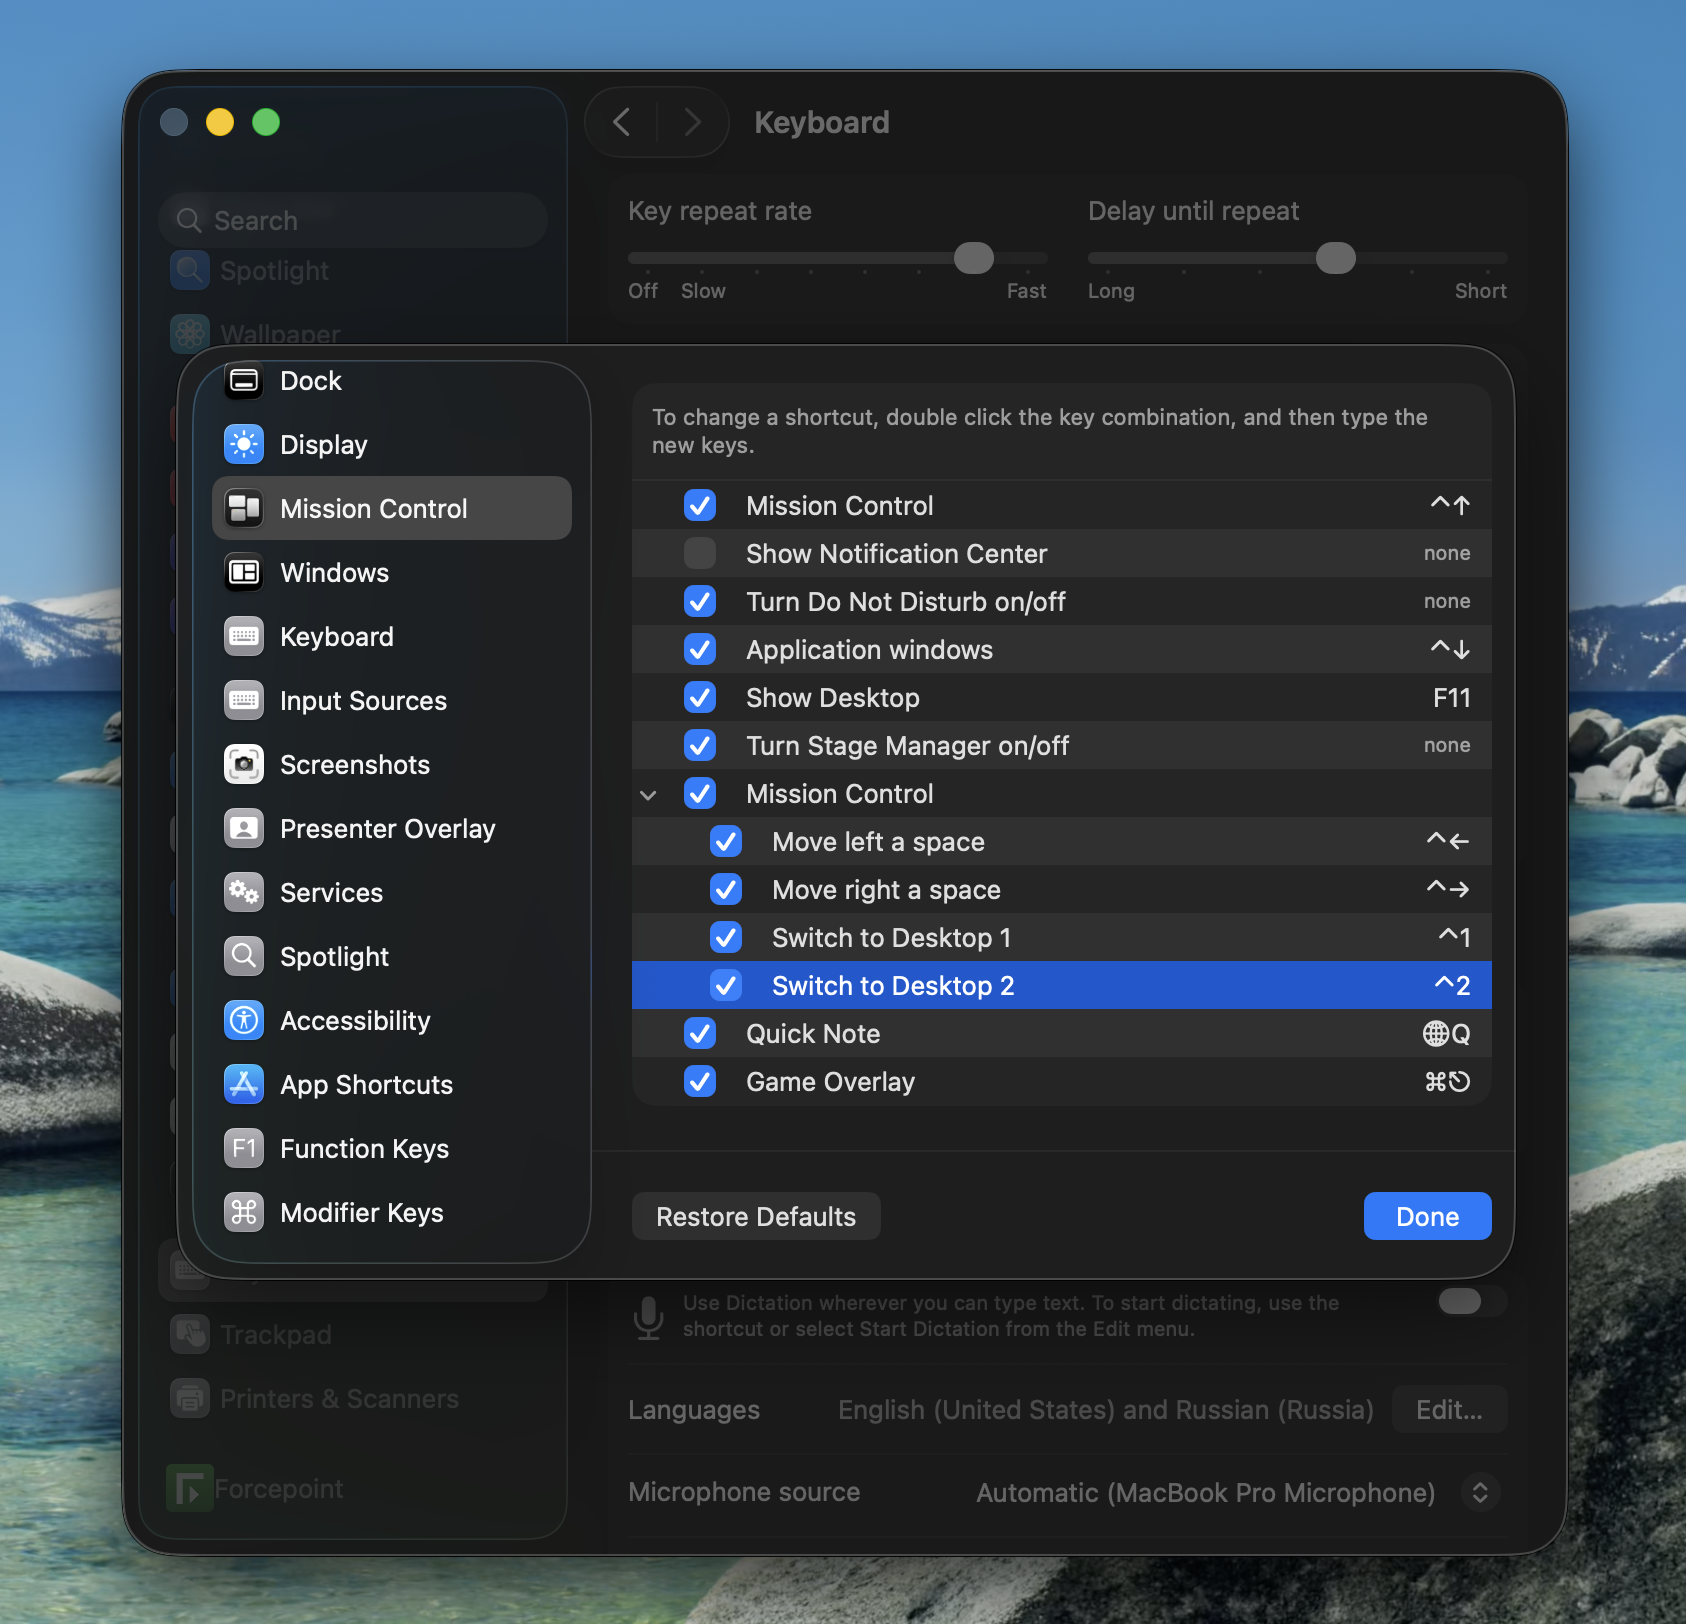
You can assign shortcuts for Desktop 1 and Desktop 2.
That’s it.
Desktop 3? 4? 10? Nope.
Fun fact: older macOS versions actually allowed more:
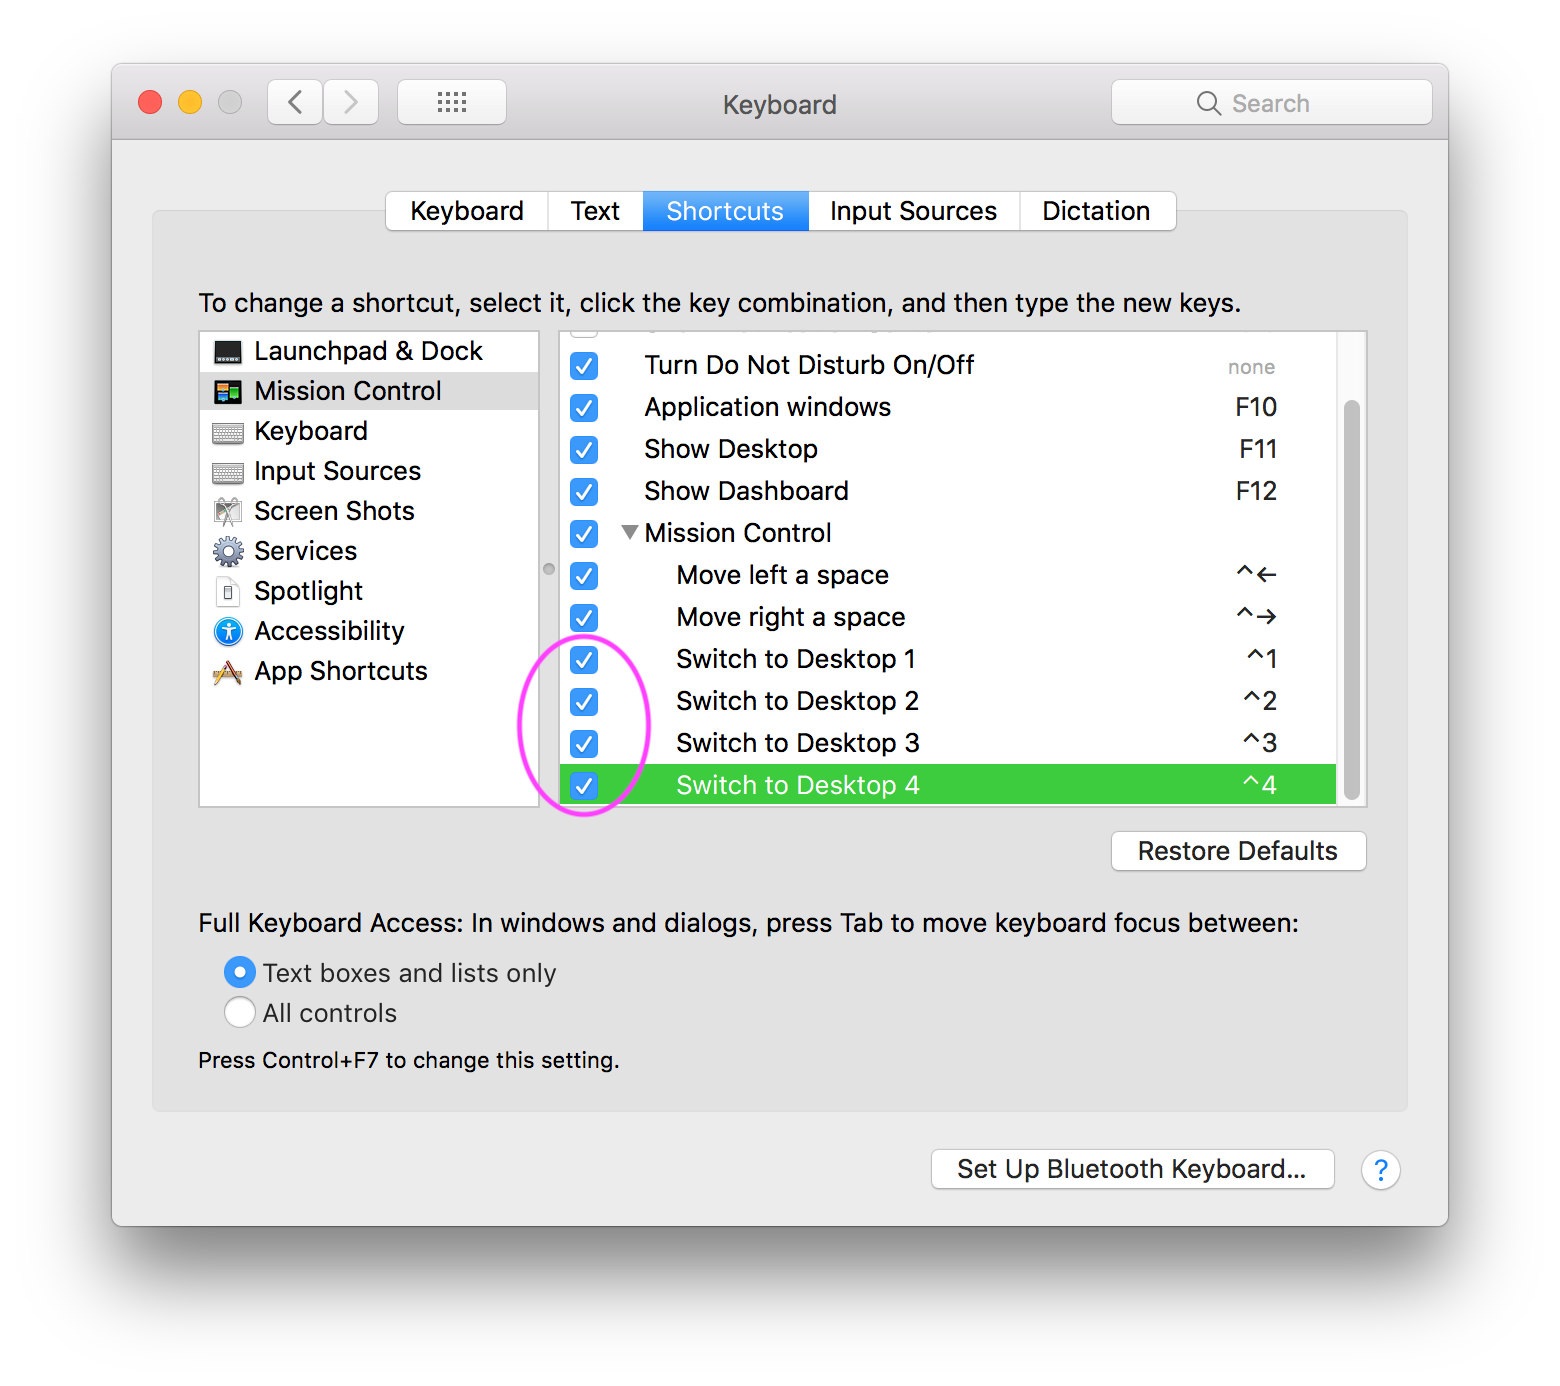
(Found on apple.stackexchange.com)
Why reduce it from 4 to 2? No idea.
Stage Manager
And finally, Stage Manager.
Apple’s latest attempt at improving window management.
It puts your windows on the side, groups them nicely.
But once you actually try to use it, you realize it’s mostly a mouse-driven feature again.
Which means it doesn’t really solve the main problem: speed.
Summary
At this point, a pattern should be pretty obvious:
- Too much cycling
- Too much guessing
- Too much mouse
That’s exactly what a proper window manager fixes.
How to set up a window manager
At this point, we know what we don’t want.
So let’s define what we do want:
- Apps open automatically when your Mac starts
- Instant switching between them
- Performance that doesn’t degrade as you open more windows
- Predictable layout (so you build muscle memory)
- Zero mouse required
Choosing a window manager
If you’re coming from Linux, you’ve probably seen tools like i3, dwm, or Hyprland.
macOS doesn’t have that level of ecosystem, but there are still a few solid options:
- Aerospace
- Yabai
- Amethyst
I went with Aerospace.
Why?
Because it does everything I need without requiring you to disable SIP (System Integrity Protection). If you’re on a work laptop, that alone makes the decision for you.
What we are trying to achieve
Here’s the setup we’re aiming for:
- When you start your Mac → your apps open automatically
- Each app goes to its own workspace
- Each workspace has a label (like
1,2,B, etc.) - You jump between them instantly with
Option(⌥) + label
So for example:
- Browser is on workspace
B - You press
Option(⌥) + B - You’re there instantly
No cycling. No guessing. No mouse.
Installation
The easiest way to install Aerospace is via Homebrew:
brew install --cask nikitabobko/tap/aerospace
First launch
After installing, you’ll find Aerospace in your Applications folder.
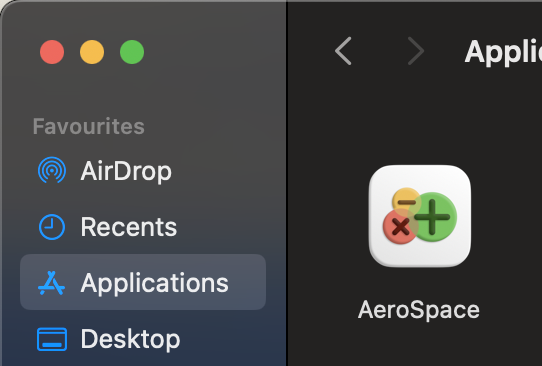
Open it like any other app.
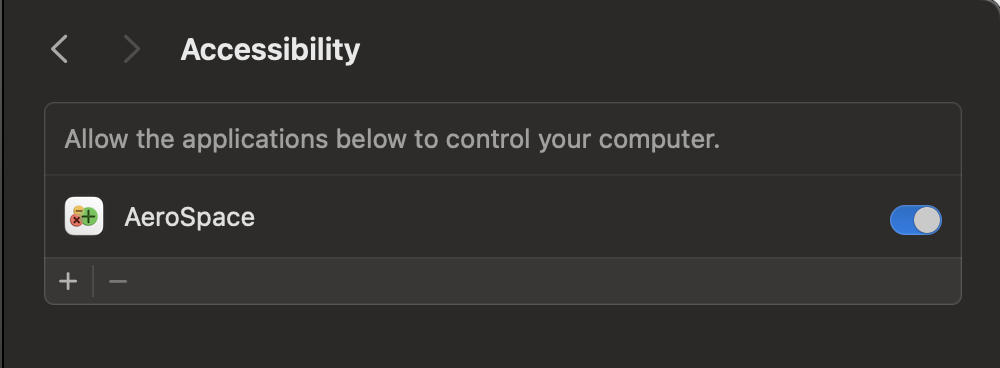
The only permission it needs is Accessibility access. This is how it controls and arranges windows.
Go to Settings → grant the permission → launch Aerospace again.
Once it’s running, you’ll see a new icon in the menu bar.
On first launch, it’ll most likely show 1. That means you’re on workspace 1.
![]()
Basic moves
Let’s actually use it.
Go to workspace 1
Option(⌥) + 1
Move the current app to workspace 2:
Option(⌥) + Shift + 2
Switch to workspace 2:
Option(⌥) + 2
Go back and forth:
Option(⌥) + 1Option(⌥) + 2
You can also use letters:
- Move app →
Option(⌥) + Shift + B - Jump →
Option(⌥) + B
Configuration
The default configuration provided by Aerospace covers all we need for our basic setup. The only 2 things we want to add are:
- Opening predefined applications on startup
- Assigning these applications to their own workspaces
Step 1: copy the default config
We need to re-create the default config to make changes on top of it. The easiest way to do it is by executing this command:
cp /Applications/AeroSpace.app/Contents/Resources/default-config.toml ~/.aerospace.toml
Now open ~/.aerospace.toml in your favorite text editor.
Step 2: start Aerospace on login
Make sure that this is set to true. We want aerospace to be the first application to be launched.
# Start AeroSpace at login
start-at-login = true
Step 3: launch apps on startup
Define which applications should be opened once aerospace is launched. Update after-startup-command.
Example:
after-startup-command = [
    'exec-and-forget open -a "iTerm"',
    'exec-and-forget open -a "Microsoft Edge"',
]
Now iTerm and Edge open as soon as aerospace is ready.
You can use
aerospace list-appsto see the names of applications which are currently opened.
Step 4: assign applications to workspaces
Add these rules to the config:
[[on-window-detected]]
    if.app-id = 'com.googlecode.iterm2'
    run = 'move-node-to-workspace 1'

[[on-window-detected]]
    if.app-id = 'com.microsoft.edgemac'
    run = 'move-node-to-workspace B'
Here Application ID is mapped to workspace label. This means that as soon as these applications open they immediately get assigned to their workspaces.
Again,
aerospace list-appsis very useful to see Application IDs of currently opened applications.
My full config for reference: https://github.com/leonid-shutov/.dotfiles/blob/mac/env/.config/aerospace/aerospace.toml
Final step
Log out and log back in.
That’s it.
Now your setup should:
- Start automatically
- Open your applications
- Put them in the right places
- Let you jump instantly with
Option(⌥) + label
Next Steps
- Definitely check out Aerospace on Github
- Find out how to work with 2 or more windows on the same workspace
- Consider remapping
Optionkey toCommandkey as you will use window manager much more often then whatever you needCommandkey for. I personally suggest remappingCommandkey toCaps Lock.